My very fair skin has no shortage of ‘sun kisses’ having grown up under the Australian sun. From a young age, I was educated on the importance of sunscreen and adequate shade for the skin living in a country with the highest rates of skin cancer in the world.
Despite being hyper-vigilant with skincare protection, I have developed pigmentation that makes me want to reach for my make-up bag more often than not.
MedlinePlus defines the condition as: “Pigmentation means colouring. Skin pigmentation disorders affect the colour of your skin. Your skin gets its colour from a pigment called melanin”.
Luckily, uneven skin tone (or pigmentation) is generally coverable with a good quality foundation but as I age, I’m coming to prefer the ‘less is more’ look and enjoy embracing my natural beauty. But my pigmentation still bothers me.
It’s a completely individualised concern because I do find freckles are a real natural beauty enhancer on some people but I could just never love mine.
I had had enough of my freckles, not looking like the cute little symmetrical dots that can be drawn on with ‘freckle pens’, but an uneven skin tone across wider parts of my face. Not to mention, it was time to treat my skin with some medical-grade care after living in the polluting city of London.
After seeing TV personality Olivia Attwood’s laser facial with the medical aesthetic clinic Skin Doctor London, I was interested to see how the Photofabulous machine works and what the downtime is (my friend had Fraxel laser treatment a couple of years ago and it looked painful – no, thank you).
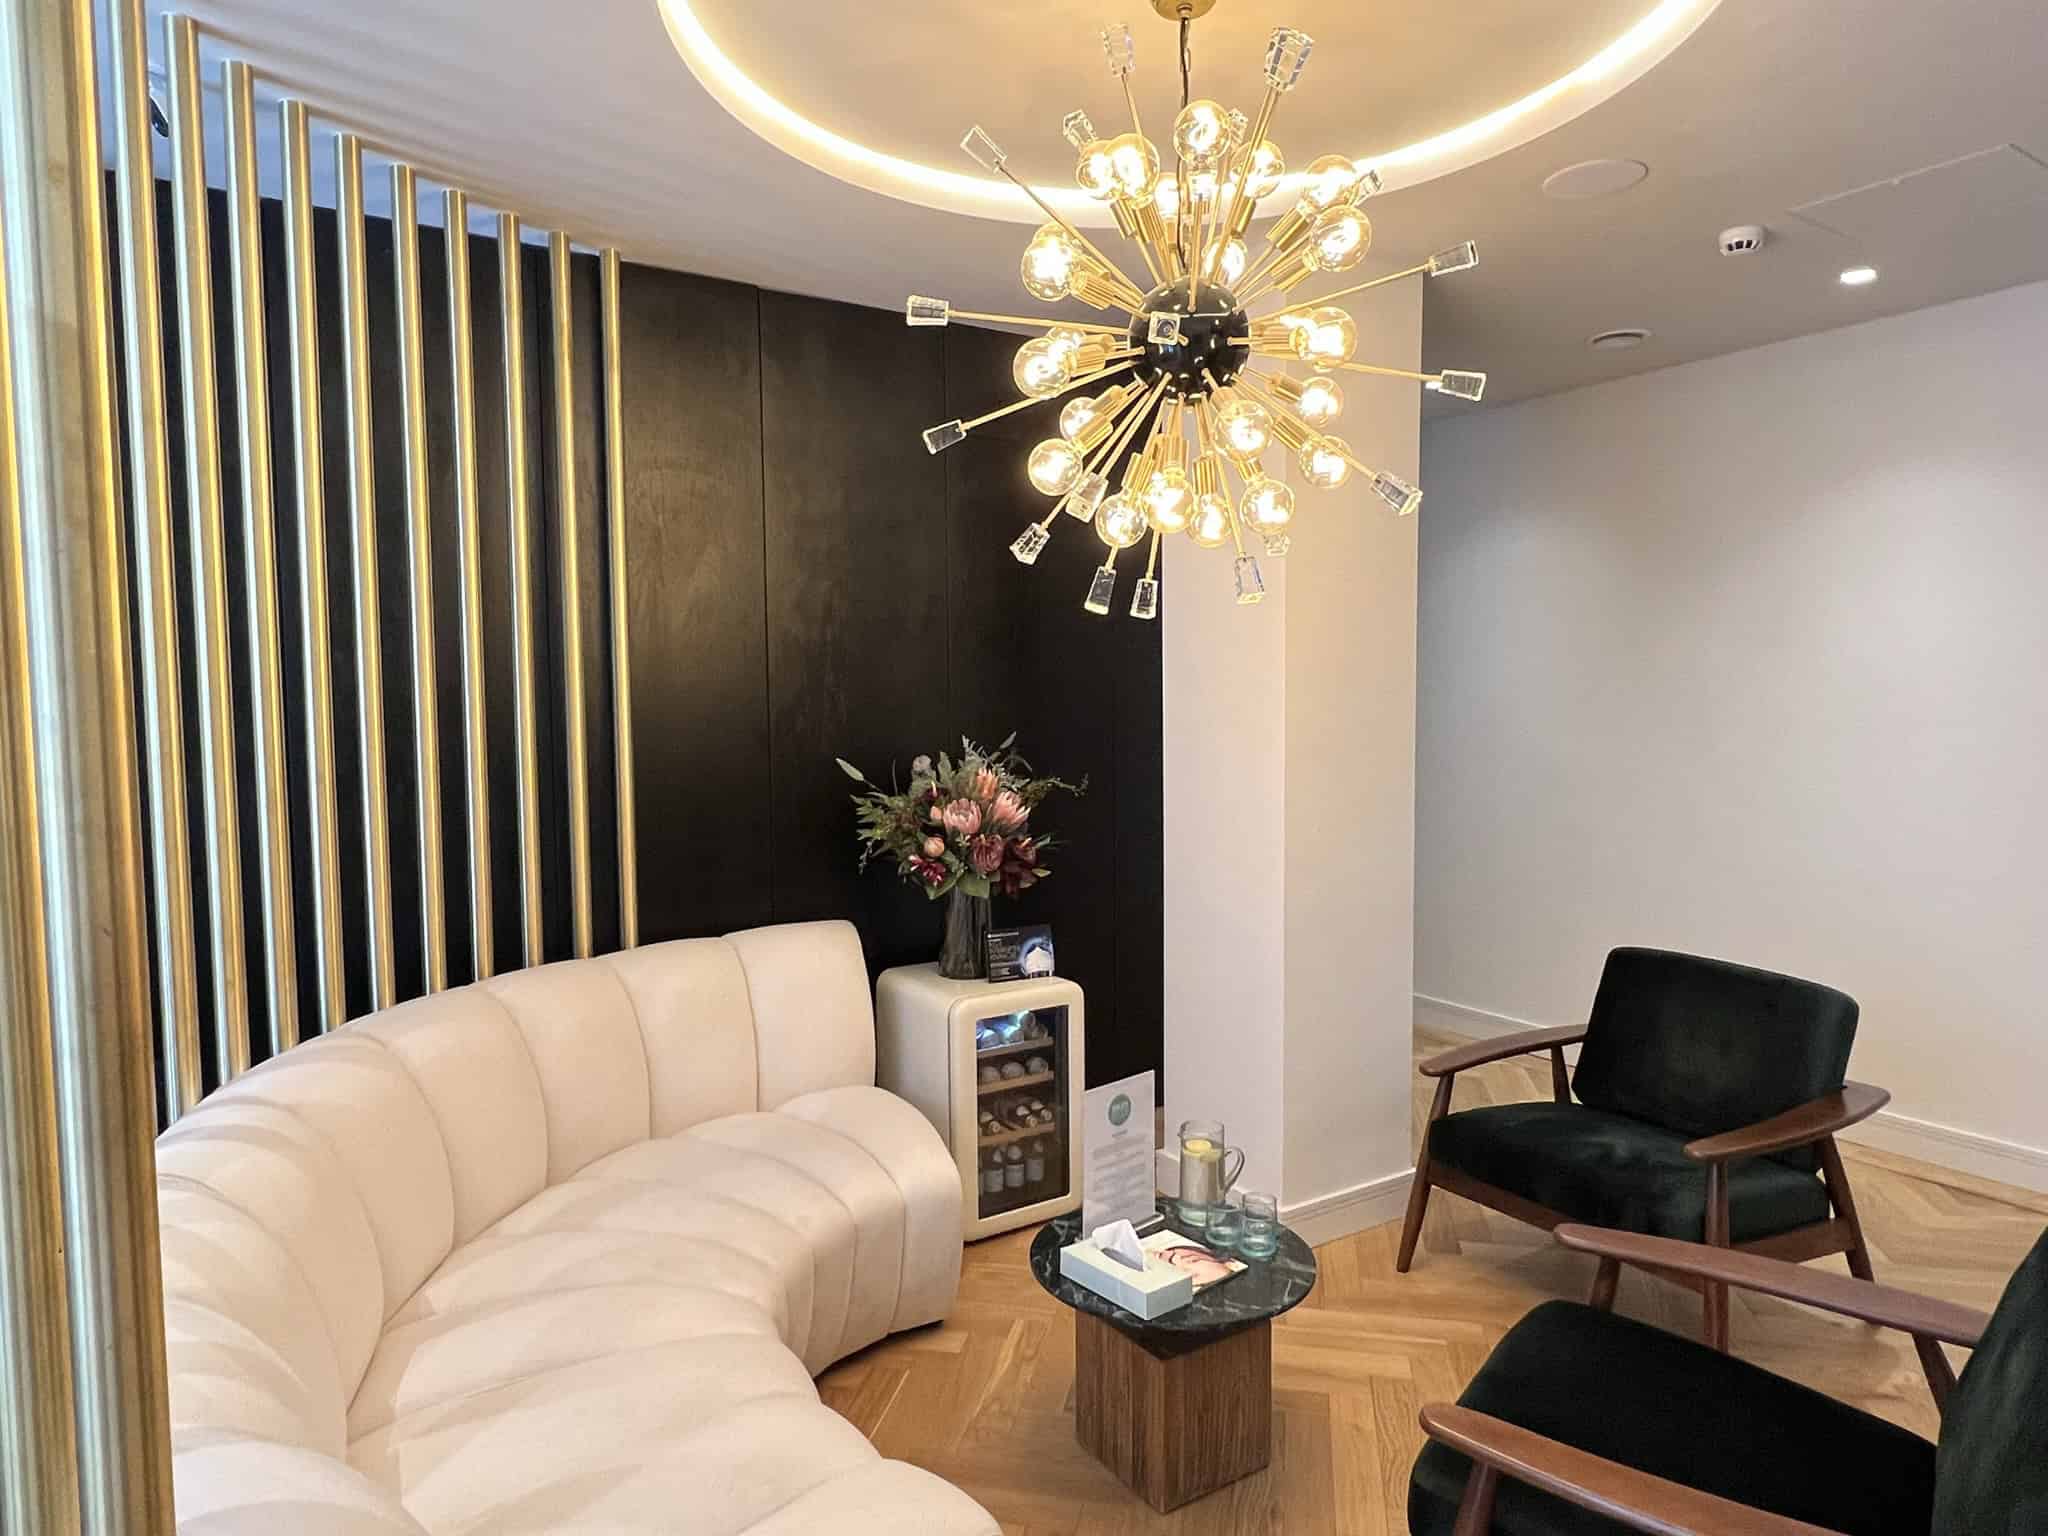
The luxurious Skin Doctor Clinics is located just off Harley Street and from the moment you step inside, you can’t help but exhale and relax. From its range of medical-grade skincare to the bar fridge stocked with San Pellegrino for refreshments, every little detail was well thought through. Skin Doctor Clinics are an advanced doctor led range of practises based in Leeds, York, Manchester and London and they have a wealth of experience and over 30 years of medical training combined, so I felt fairly reassured that this was the place to go for my Photofabulous by Lumenis treatment.
Who is eligible for the Photofabulous™ by Lumenis treatment?
My initial consultation was with Skin Specialist Olivia Simms, who has over a decade of experience, where I explained my skin journey up to this point and my desire to reduce my pigmentation safely and with minimal downtime. Was this even possible?
Olivia assessed my skin finding sun damage in the highest points of the face, vascularity within the skin, which could also be caused by sun damage, and slight dehydration within the skin making me a “perfect candidate for Photofabulous” and “the typical skin type which we see quite a lot at Skin Doctor London”.
All new patients require a patch test 24 to 48 hours before your first appointment and you cannot have any sun exposure for two weeks before and after your appointment. This is very important as it could lead to hyperpigmentation!
Depending on your desired outcome, you could need up to three sessions spaced four weeks apart so it’s worth saying here, you’ll be in for the long haul and not a quick fix.
According to Olivia, this treatment is suitable for most skin types adding, “The only person I’d say it wouldn’t really be ideal for is if you had someone that is always travelling and exposed to the sun, they wouldn’t be the right candidate but yes, it’s for everyone which is nice.”
How Does it Work?
What I like about Photofabulous is that it’s an optimally tailored laser treatment that works specifically for your skin and needs.
The high-tech machine is the culmination of two technologies which are non-ablative (does not disturb the outer layers of the skin) and sequentially given in the same treatment session.
This means it can treat both pigmentation and texture as well as the early signs of ageing, sunspots, fine lines and overall skin appearance. But you can opt for just one part or the other, depending on your skin concerns.
The Stellar M22™ IPL removes both unwanted pigmentation and vascular lesions from the skin, while the ResurFX™ fractional laser stimulates the production of new collagen and elastin fibers in the deeper layers of the skin.
Olivia adds: “How [M22 IPL] works is – think of it as like the laser has got this invisible beam that travels through the skin and what it wants to target is your haemoglobin and the pigment. So what it does, when it zaps that, it almost kind of shatters it.”
It takes roughly 2 to 4 weeks for the pigment to be broken down and then it’s excreted naturally through your body.
The second laser in the Photofabulous is ResurFX™ which is the non-ablative fractional laser causing a controlled trauma to the skin so you get the benefits of a CO2 laser but without that aggressive treatment and downtime. It also boasts a more gentle approach of only needing one pass on the skin and cooling technology.
Olivia said: “[The ResurFX™] it’s like tiny little scanners and then the small laser beams hit into the skin that targets the top layer. So that’s where it’s going to work on the pores, the texture, it goes into the dermis as well so that’s brilliant because it stimulates the fibroblasts, which makes the collagen and the elastin so you’ve got that anti-ageing benefit to the treatment as well.”
The machine also has a cooling tip to help soothe the skin, along with a tube that pumps out cold air that can be moved around the face area in line with the treatment.
My First Session
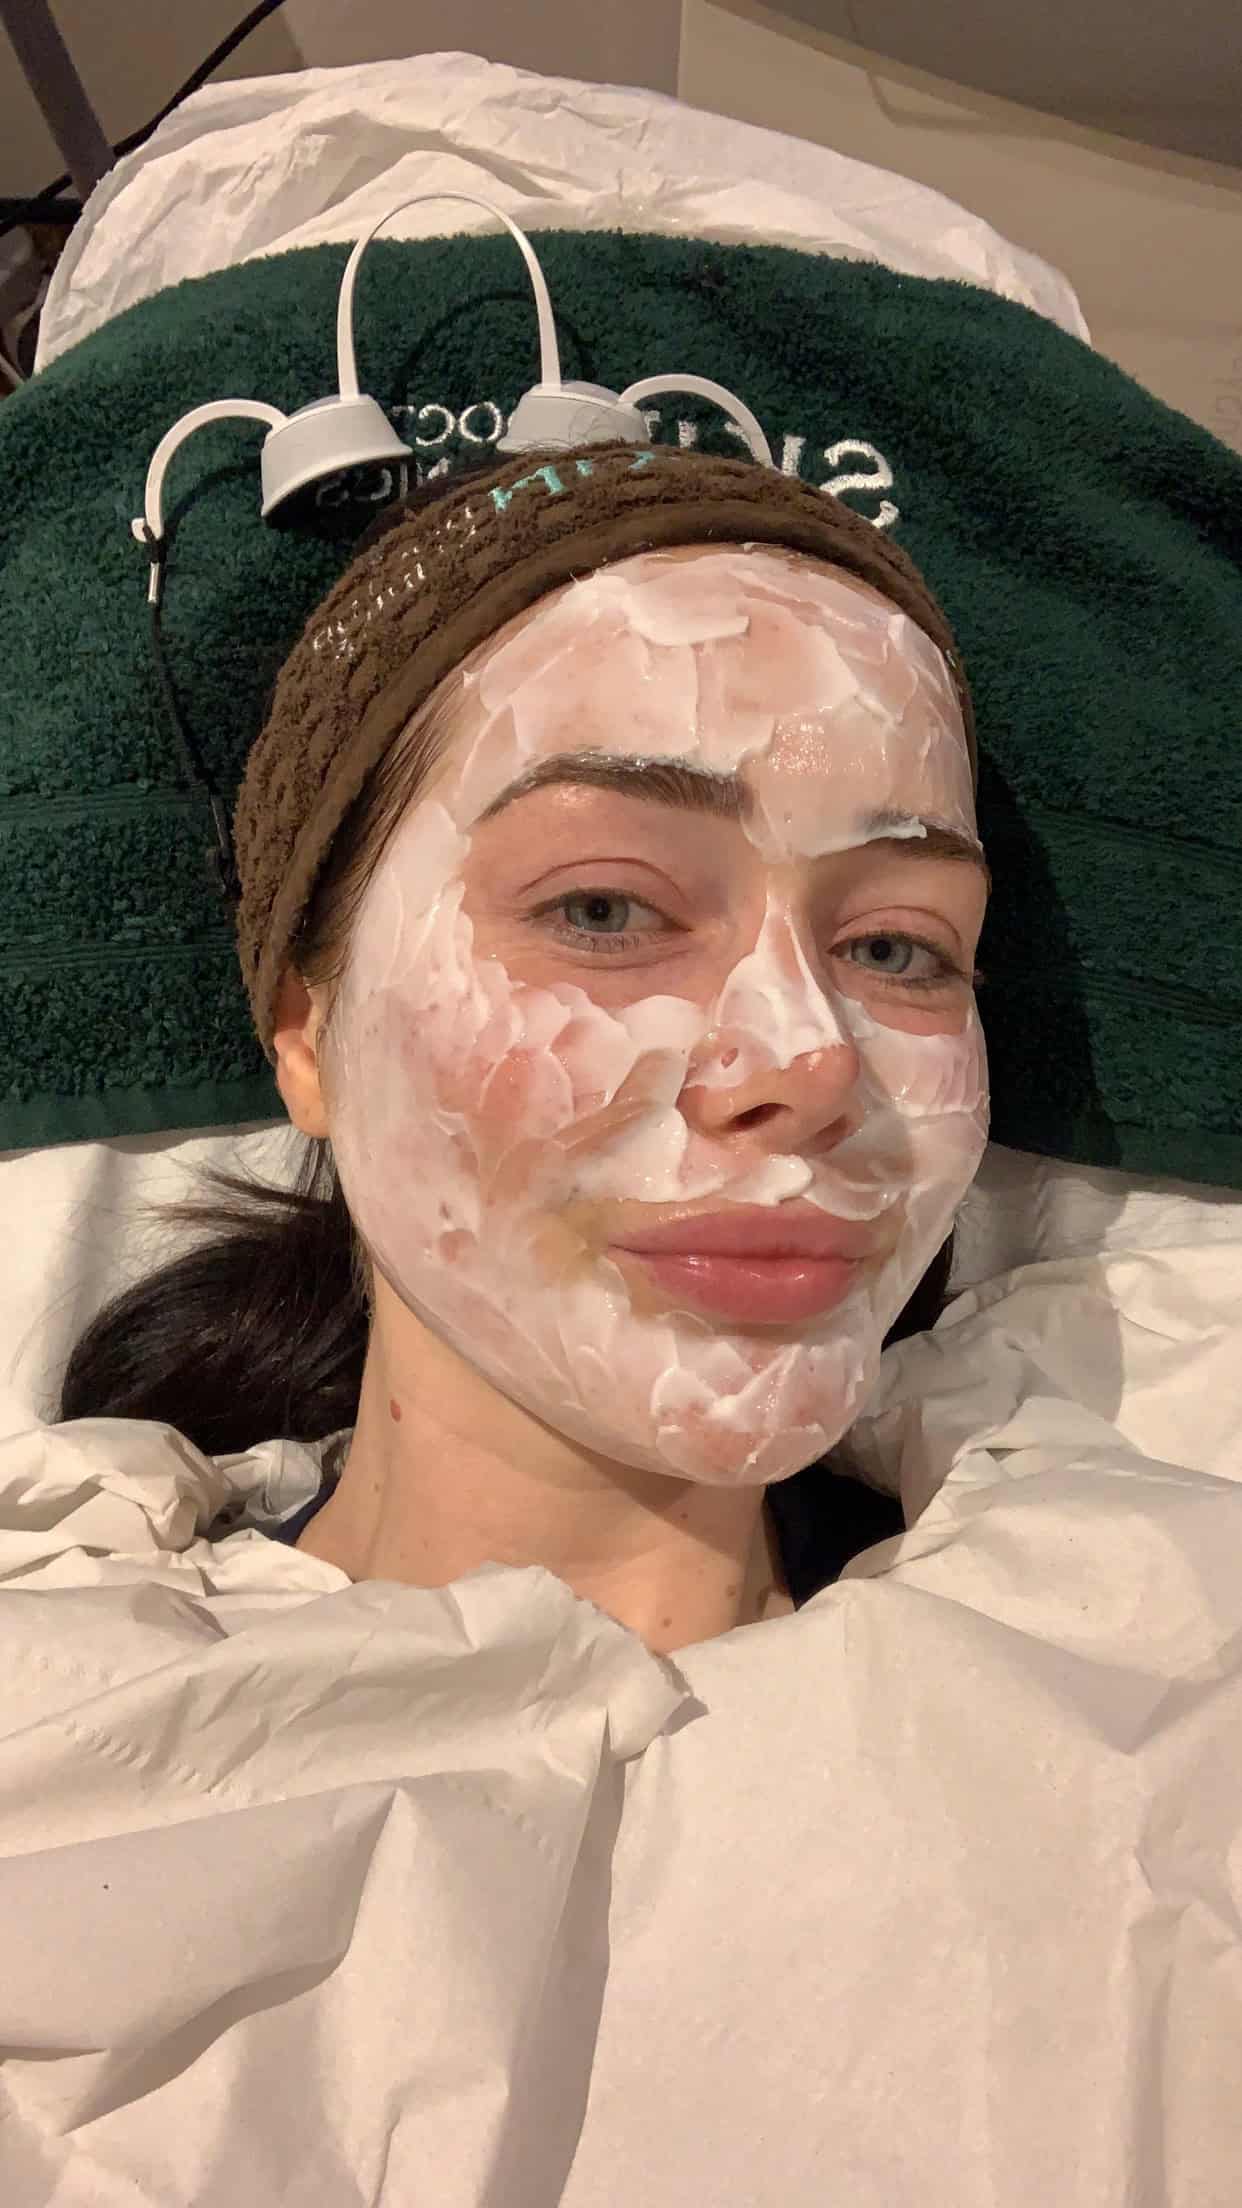
After a successful patch test, I was back in the treatment chair one week later, with my laser goggles on ready to go.
Olivia explained the process to me again so I knew what to expect and found the first round of IPL was actually quite relaxing. I felt comfortable and safe in Olivia’s knowledge and her attention to detail, remembering details about my skin from our initial consultation.
I was lathered up in ultrasound gel which helps to cool the skin while allowing the tip to glide with ease across the face. We then went in with a second round of IPL using the Stellar M22™ and I found this to be the most uncomfortable part of the treatment. For context, I generally have a high pain threshold and I have placed this pain at about a 6-out-of-10.
It was like a warm or prickling sensation and my face did feel a little grumpy afterwards but the treatment itself only lasted 10 to 15 minutes.
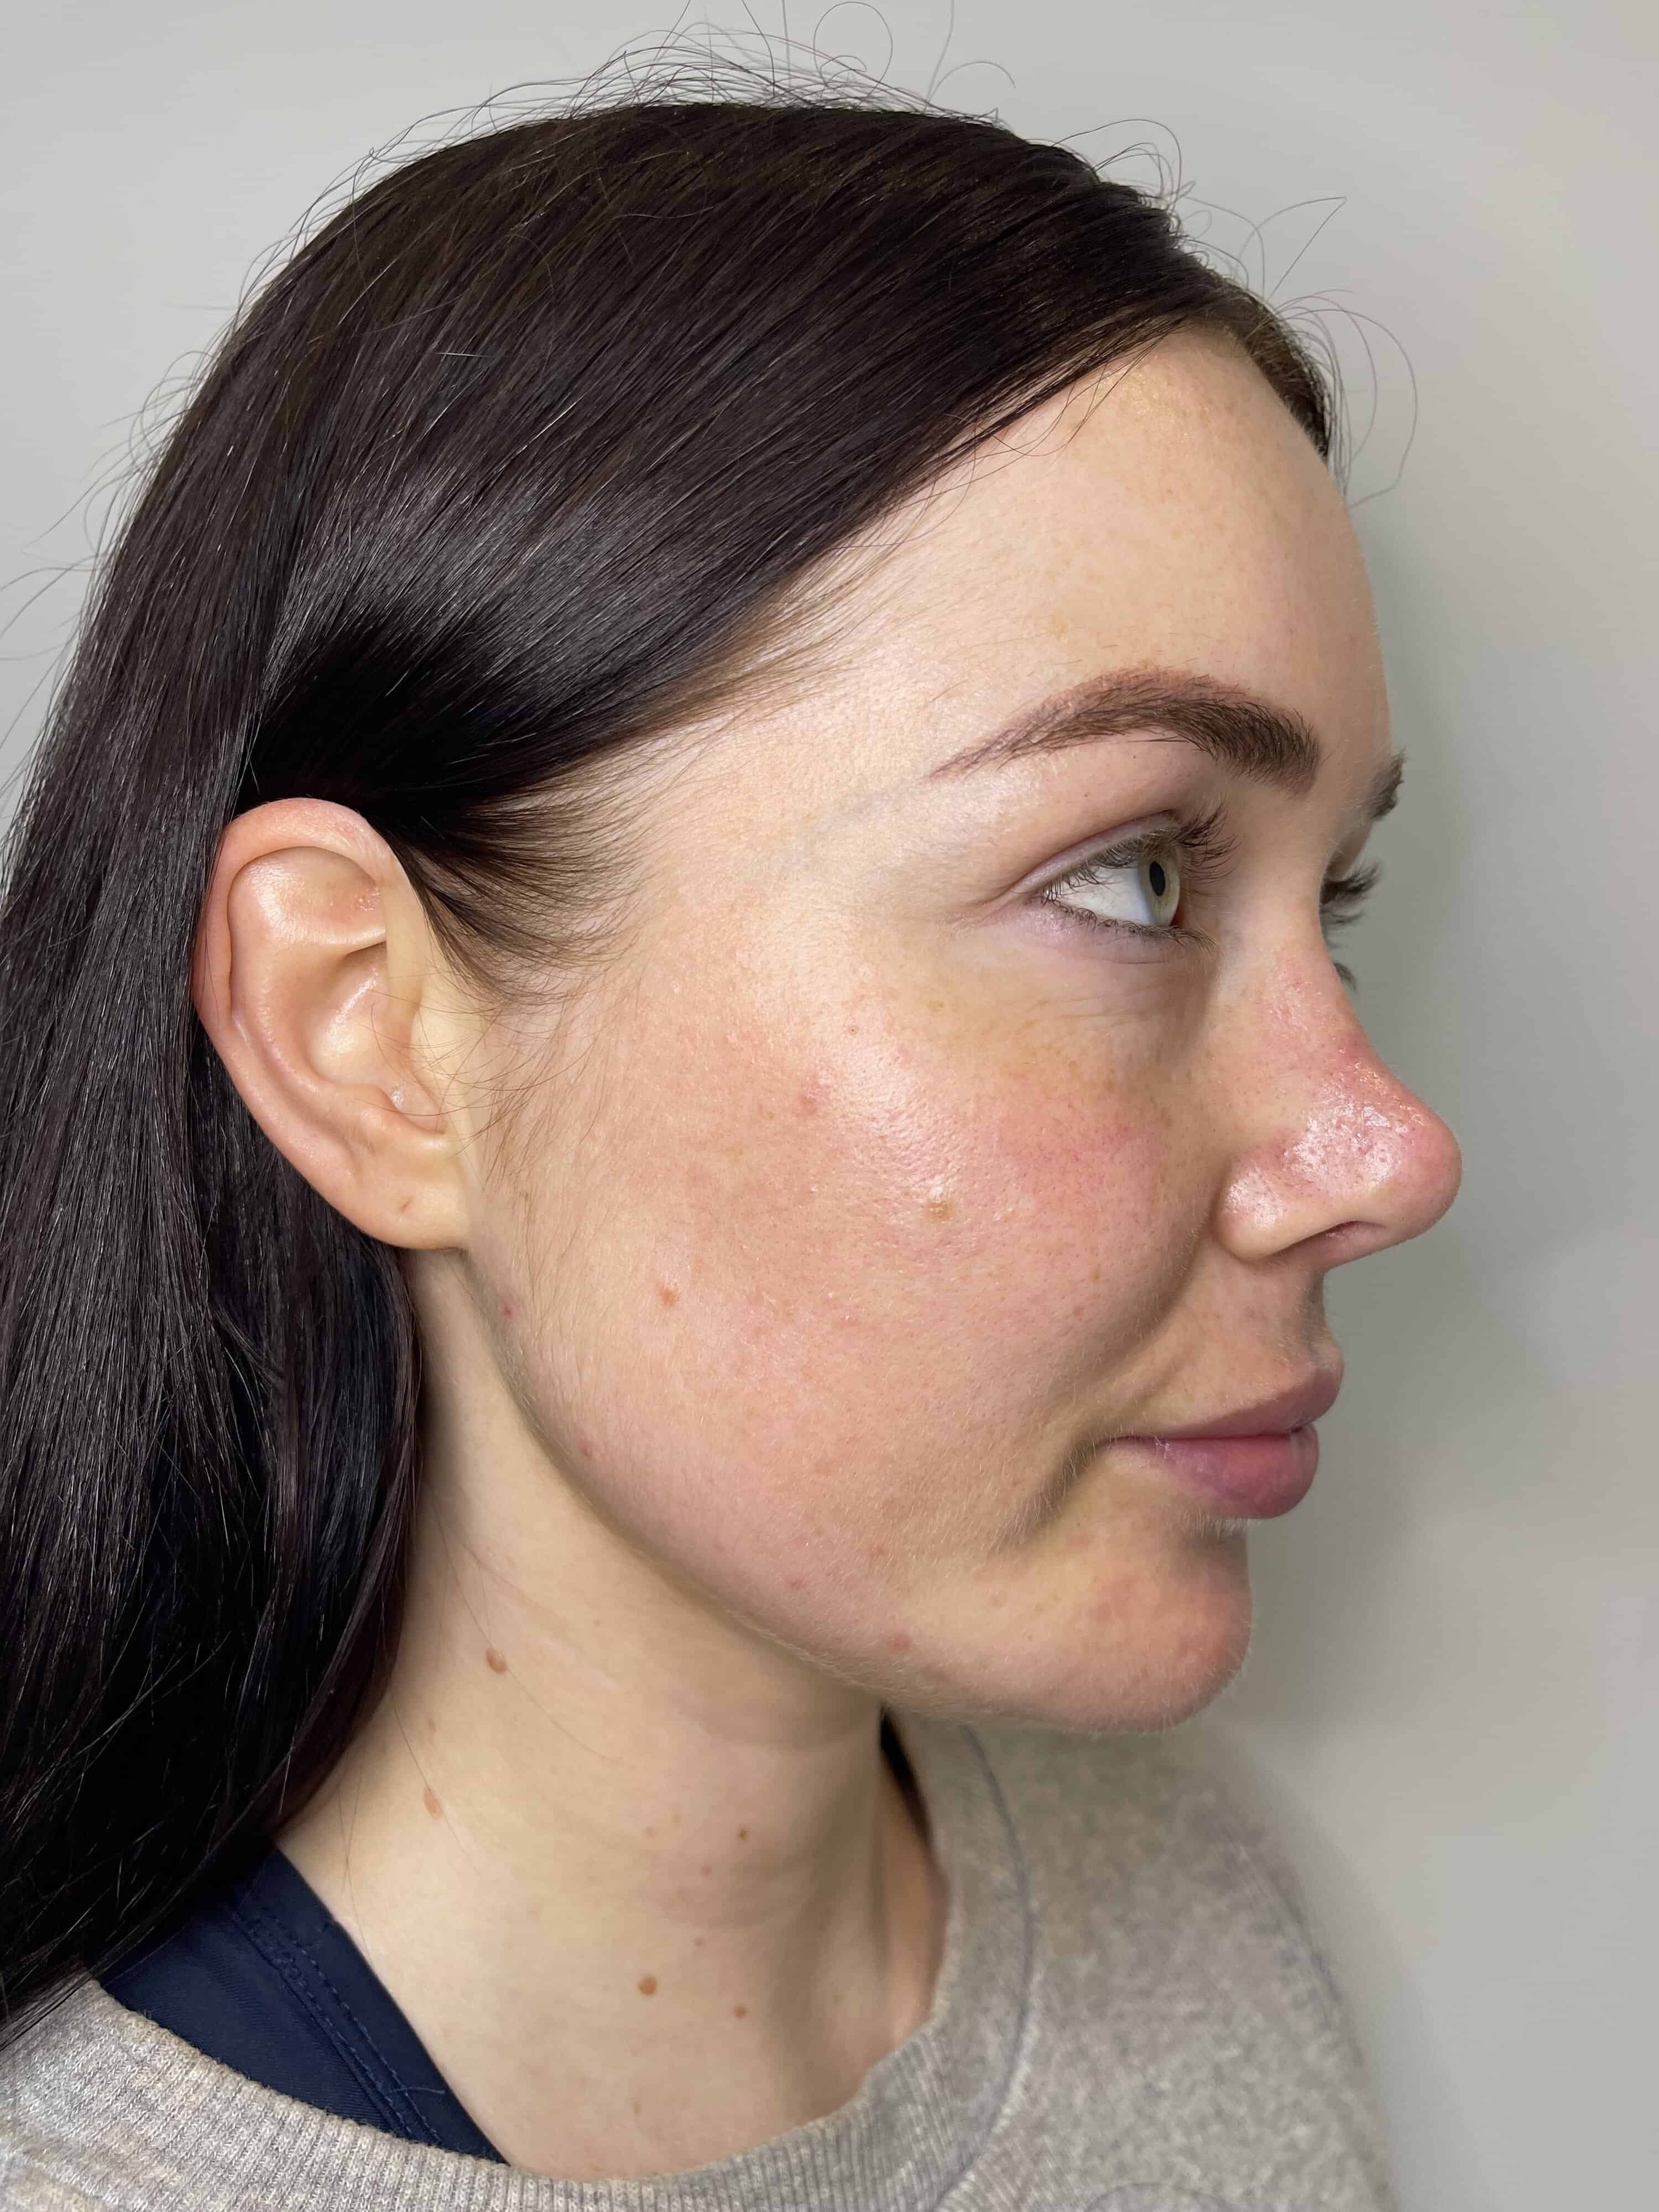
The bright light was more shocking the second time and my skin was more sensitive making my body involuntary jump in some of the more sensitive areas around the forehead and upper lip. But it was over in under ten minutes and it was totally bearable.
The ResurFX™ is meant to be the harder of the two treatments so Olivia lathered me up in numbing cream and we let that sit for 10-15 minutes.
I was mentally preparing myself for discomfort but the numbing cream worked wonders. The resurfacing was about a 5-out-of-ten on the pain scale, going up a notch or two around the more sensitive areas.
The advanced scanner delivers the laser beams in a precise manner that feels like a hot buzz of concentrated needles. Olivia delivered it in a grid motion across my face, starting with the less sensitive zones allowing the numb cream more time on those more sensitive parts.
There are also different-sized heads making it easier to target those hard to reach areas, but sensitive areas, such as around the eyes and upper lip. This round of resurfacing lasted about 20 minutes.
Olivia was so caring, checking in to see how I was doing at various stages and seeing if I needed a break, which I didn’t. She also gave me a stress ball and kept me updated with her next move so I wasn’t left wondering at any stage.
She was also a real perfectionist, taking time to survey the area to ensure there were no missed spots, which I really appreciated.
Post-Treatment
When I was handed the mirror to see what I looked like post-treatment, I was surprised to find it didn’t look as bad as I thought and Olivia confided a lot of people have the same reaction.
A topical hydrating cream was applied and even though it was immediately after the treatment, Olivia said my skin was already reacting well with pigmentation starting to surface.
My face felt tingly and hot but I was able to catch public transport home without too many weird looks. If anything, it looked like I had a really bad case of sunburn.
The swelling and redness did intensify as the hours went by but not to the point where I needed pain medication or it interrupted my sleep – I did try to lay on my back the first few nights to let my skin breathe.
But I was armed with the clinic number to call if I had any questions or concerns post-treatment, along with a clear instruction leaflet so I felt confident that I would be able to manage the treatment correctly to get the best results for my skin.
Day 1
Waking up on day one, I was happy to see that my skin’s condition had improved overnight, not worsened. The redness had gone down but my face was quite swollen and more pigmentation had risen in the form of darker spots like coffee granules – but this meant it was working.
There was also a clump of vascular lesions on my cheek that was quite obvious to look at, almost scab-like.
Sweat could irritate the skin so I went on a nice leisurely walk in the morning, making sure I kept up the hydration (with SPF 50 and a hat). I also avoided certain products.
Despite this, I could already see an improvement in the overall texture of my skin and it was glowing. Luckily, I was able to work from home this week but still joined a couple of meetings with my camera on.
Day 2
Lather, lather and more lathering of moisturiser meant my eyes were getting irritated but the itchiness was starting to set in and it was the only thing I could do to soothe it.
It wasn’t like an intense desire to scratch all over my face but I did have to be aware of it as I would sometimes find myself subconsciously scratching the side of my nose.
The pigmentation was also really dark at this stage but overall, my skin was looking more vibrant and smooth, and the swelling had almost completely subsided.
Day 3
On day three, the itchiness was at its worst, but still manageable, and I started to see a reduction in the appearance of pigmentation and vascular lesions. Unnoticeable to the naked eye, in certain places like around my nose, it had a sand-paper-like texture which I’m hoping will have reduced as I had a flight to Amsterdam the following day and dinner with friends, which I hoped to wear make-up to. But this is a good sign as it was indicative of healing and the skin preparing to peel.
Day 4
While not fully healed, I definitely noticed a big improvement in my overall skin appearance and texture. Under the guidance of Olivia, I knew by day four it would be okay to wear make-up so I headed out for dinner with the girls with a full face and no one picked up that I had the treatment four days ago.
My skin still felt a bit like sandpaper due to the tiny holes the laser created and came off in what felt like little grains instead of light flakes like microneedling or a chemical peel.
Every day I’m seeing improvements including less pigmentation and skin tightening and brightening. I’m excited as the results are showing after only one session so I was looking forward to my next two sessions over the coming months.
The Following Treatments
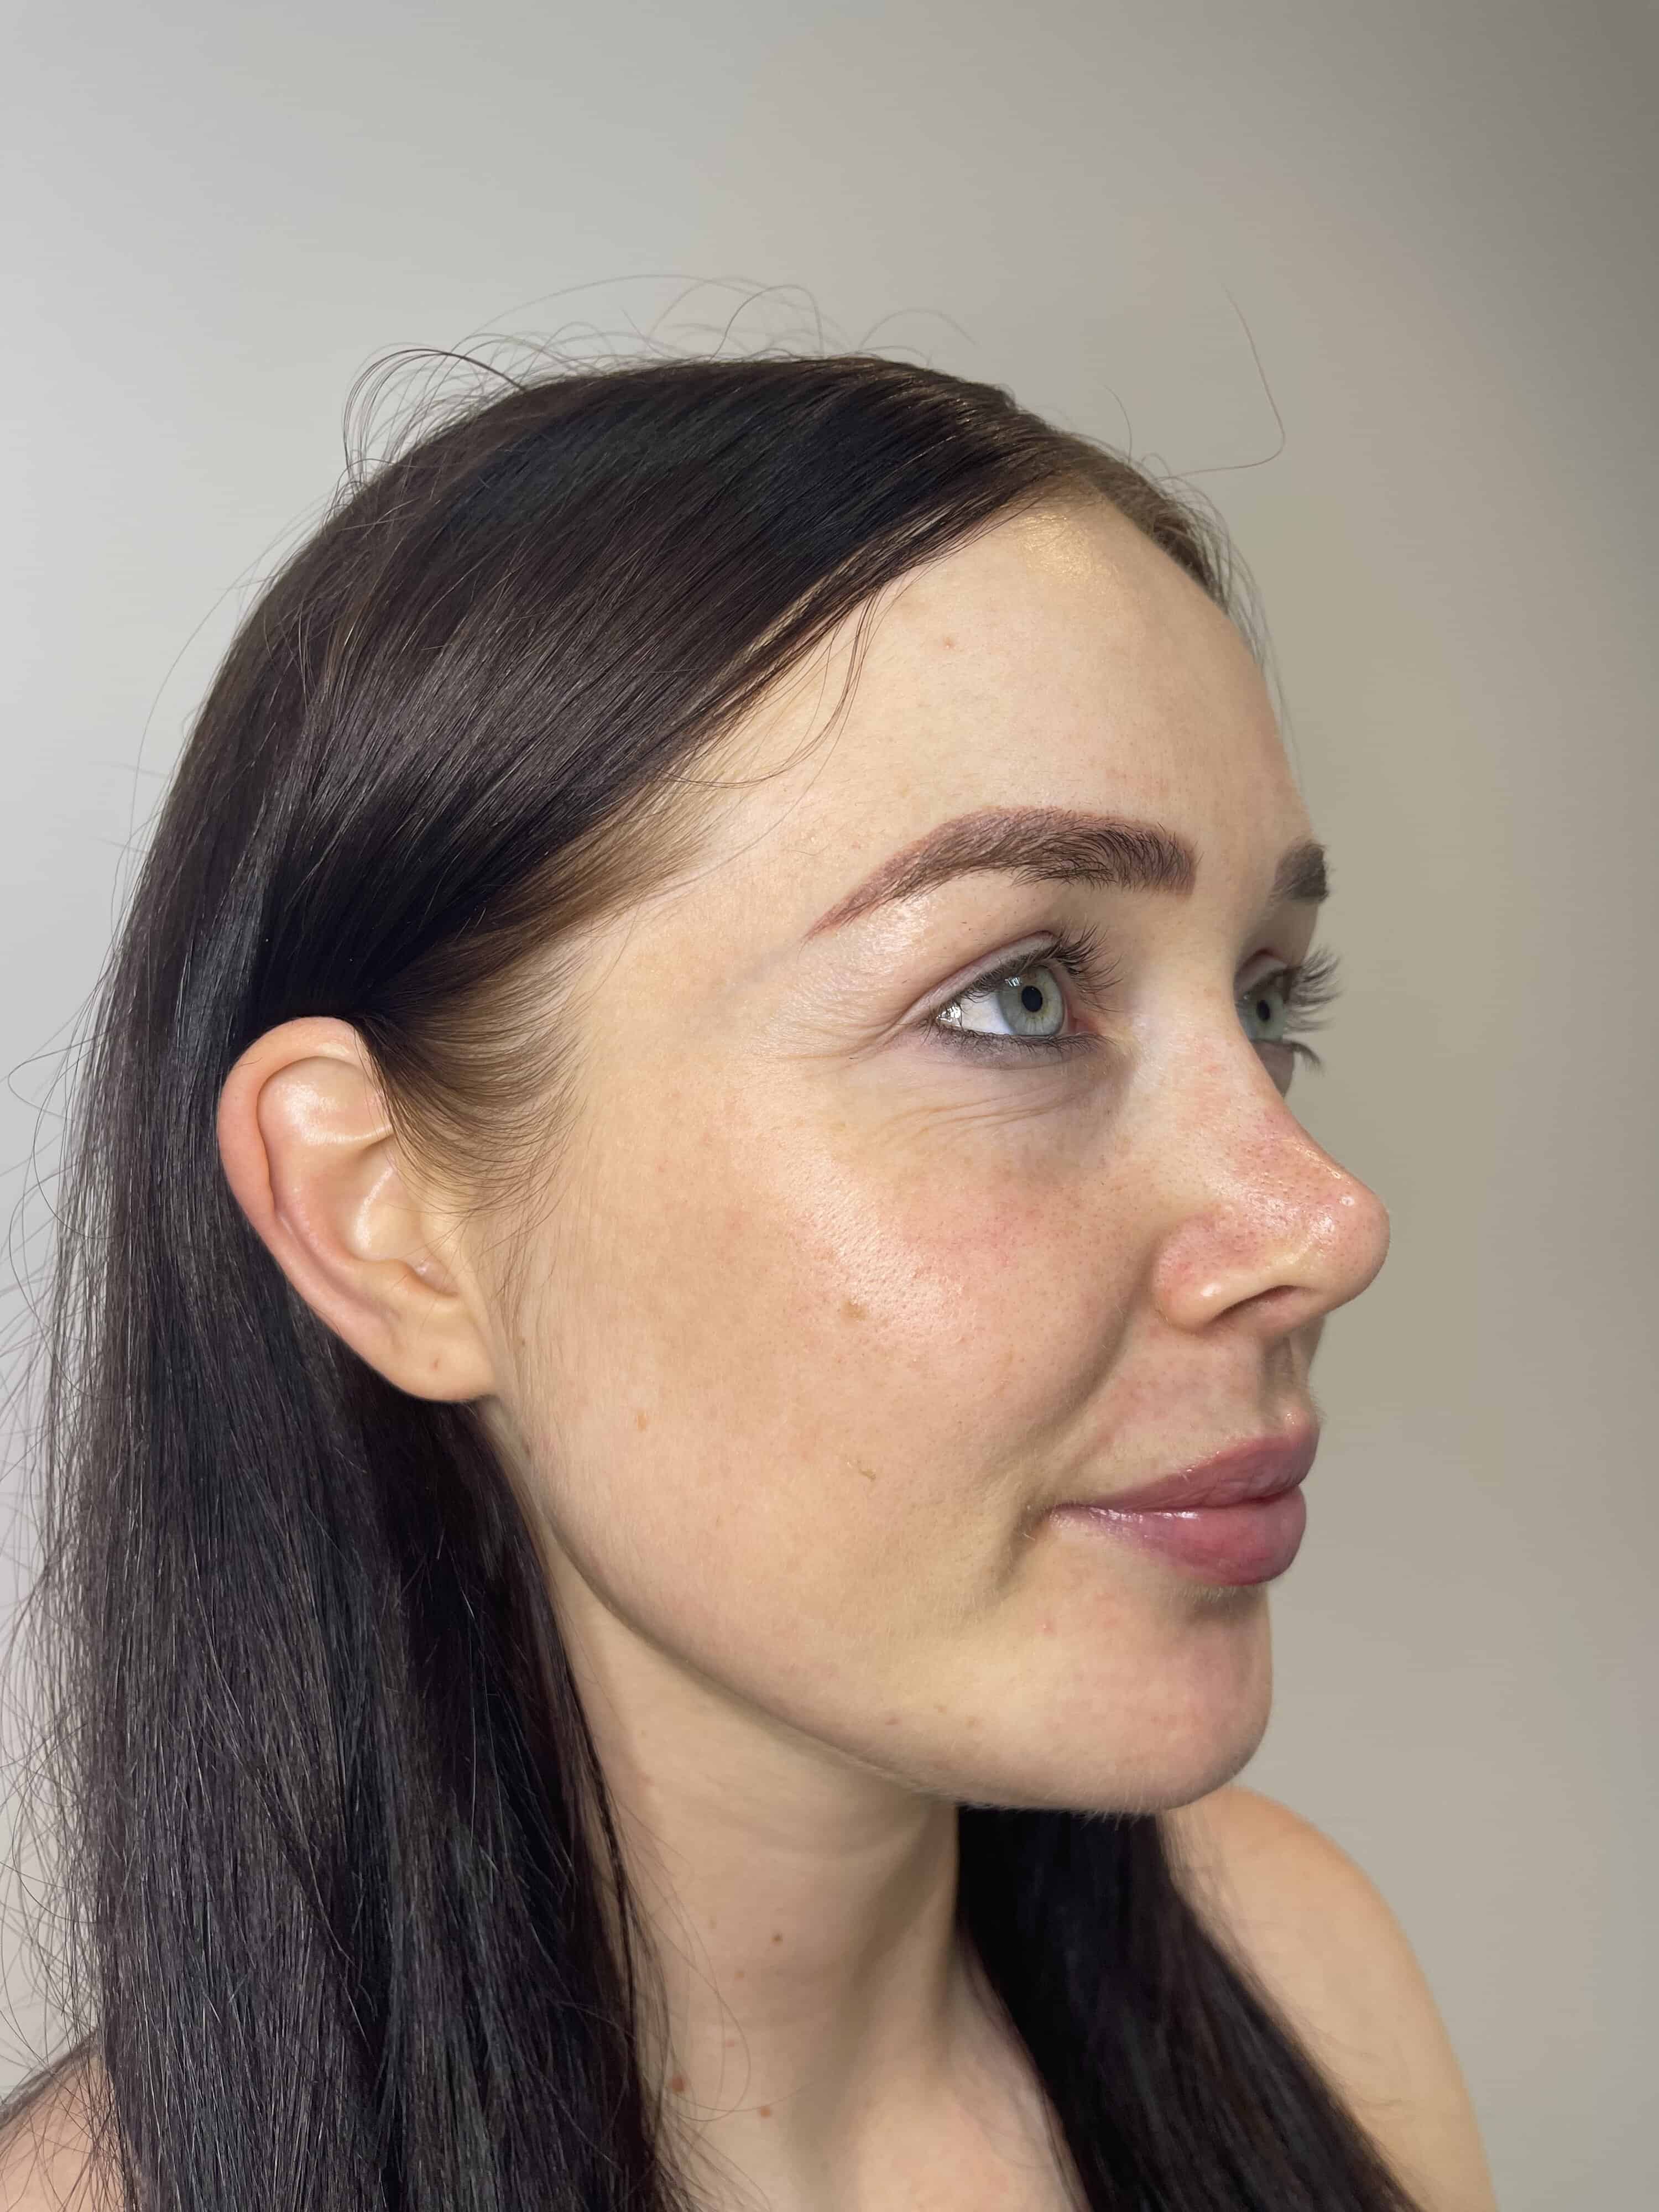
About one month after my initial treatment I was back in the chair getting my second course. Olivia and I were both very pleased with the results but there was some remaining pigmentation so we decided to up the frequency of both lasers, seeing as my skin was somewhat used to it now.
The downtime wasn’t as bad as the first time despite the higher frequency as my skin was less sensitive having already been resurfaced one month earlier. With each session, I could see an improvement in the overall appearance of my pigmentation, skin texture and elasticity.
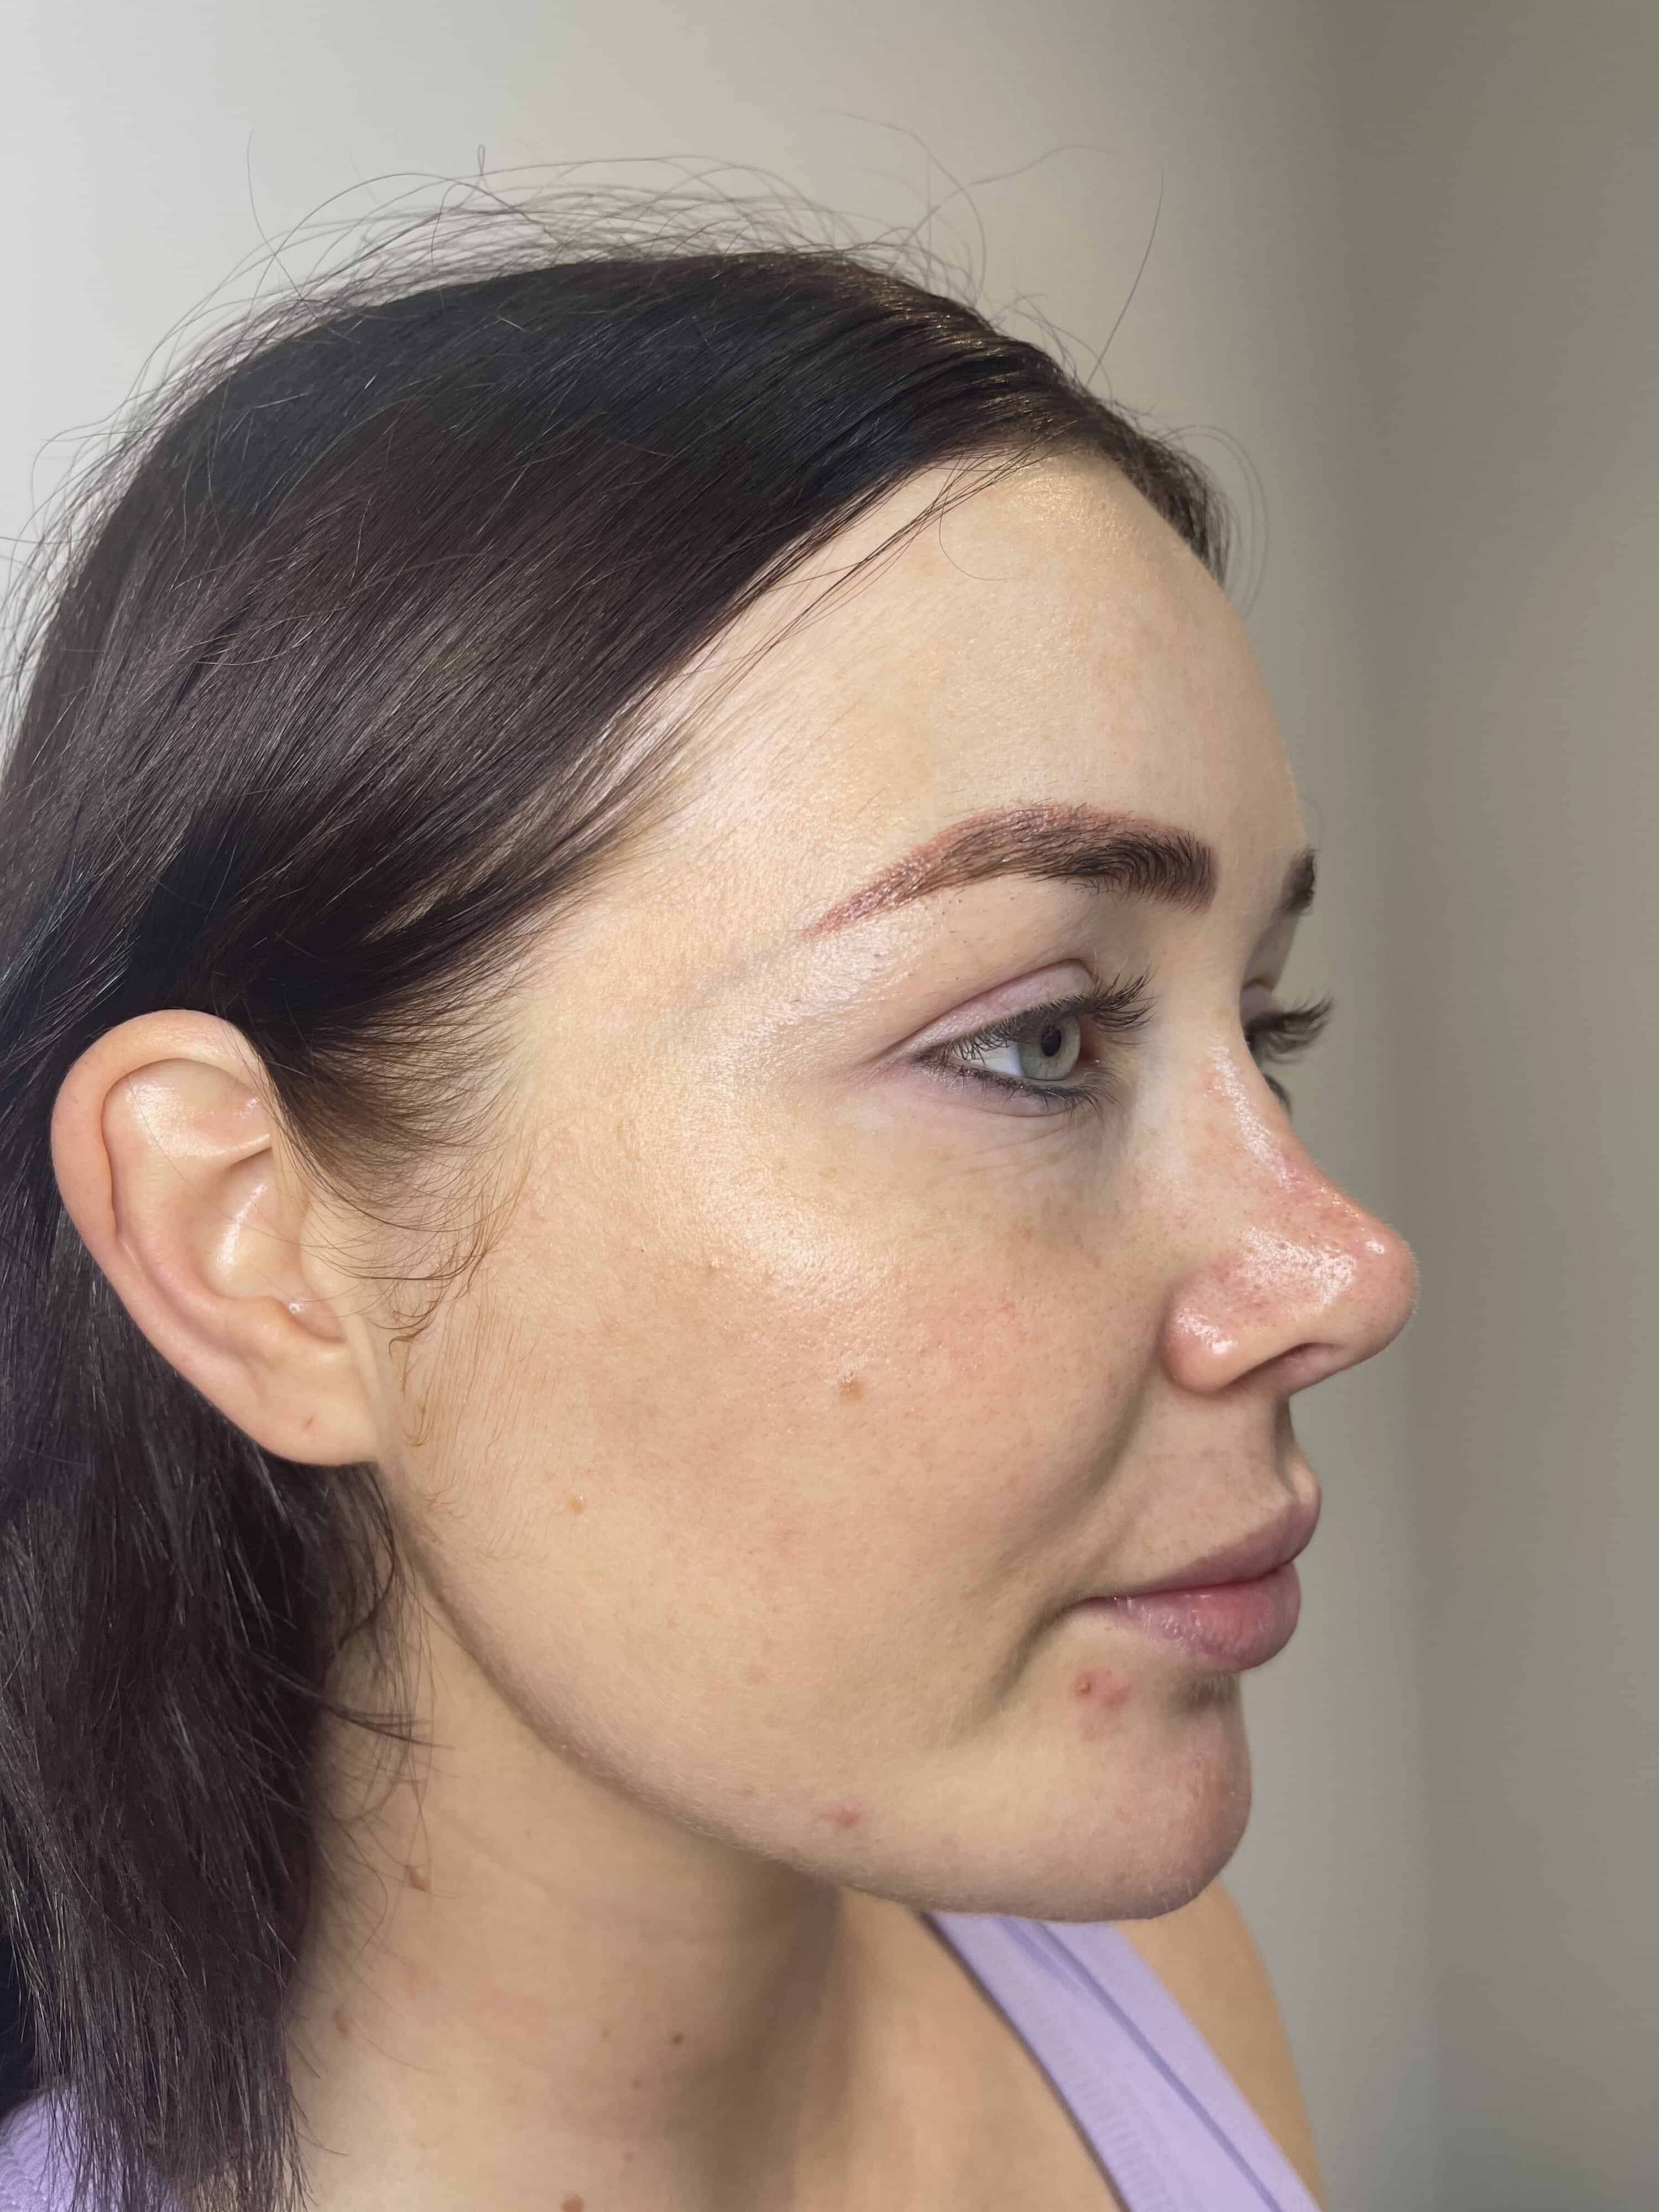
It’s now been one month after my third treatment and I couldn’t be happier. Expectations vary depending on how aggressive you go with the laser and how deep the pigment is. During my first session, it was easy to lift the surface pigment but the deeper damage was a more gradual decrease and took the full course to make its way up and through the outlet layers. As collagen production takes 6 to 8 weeks, I’ve just started to notice those results too.
Conclusion
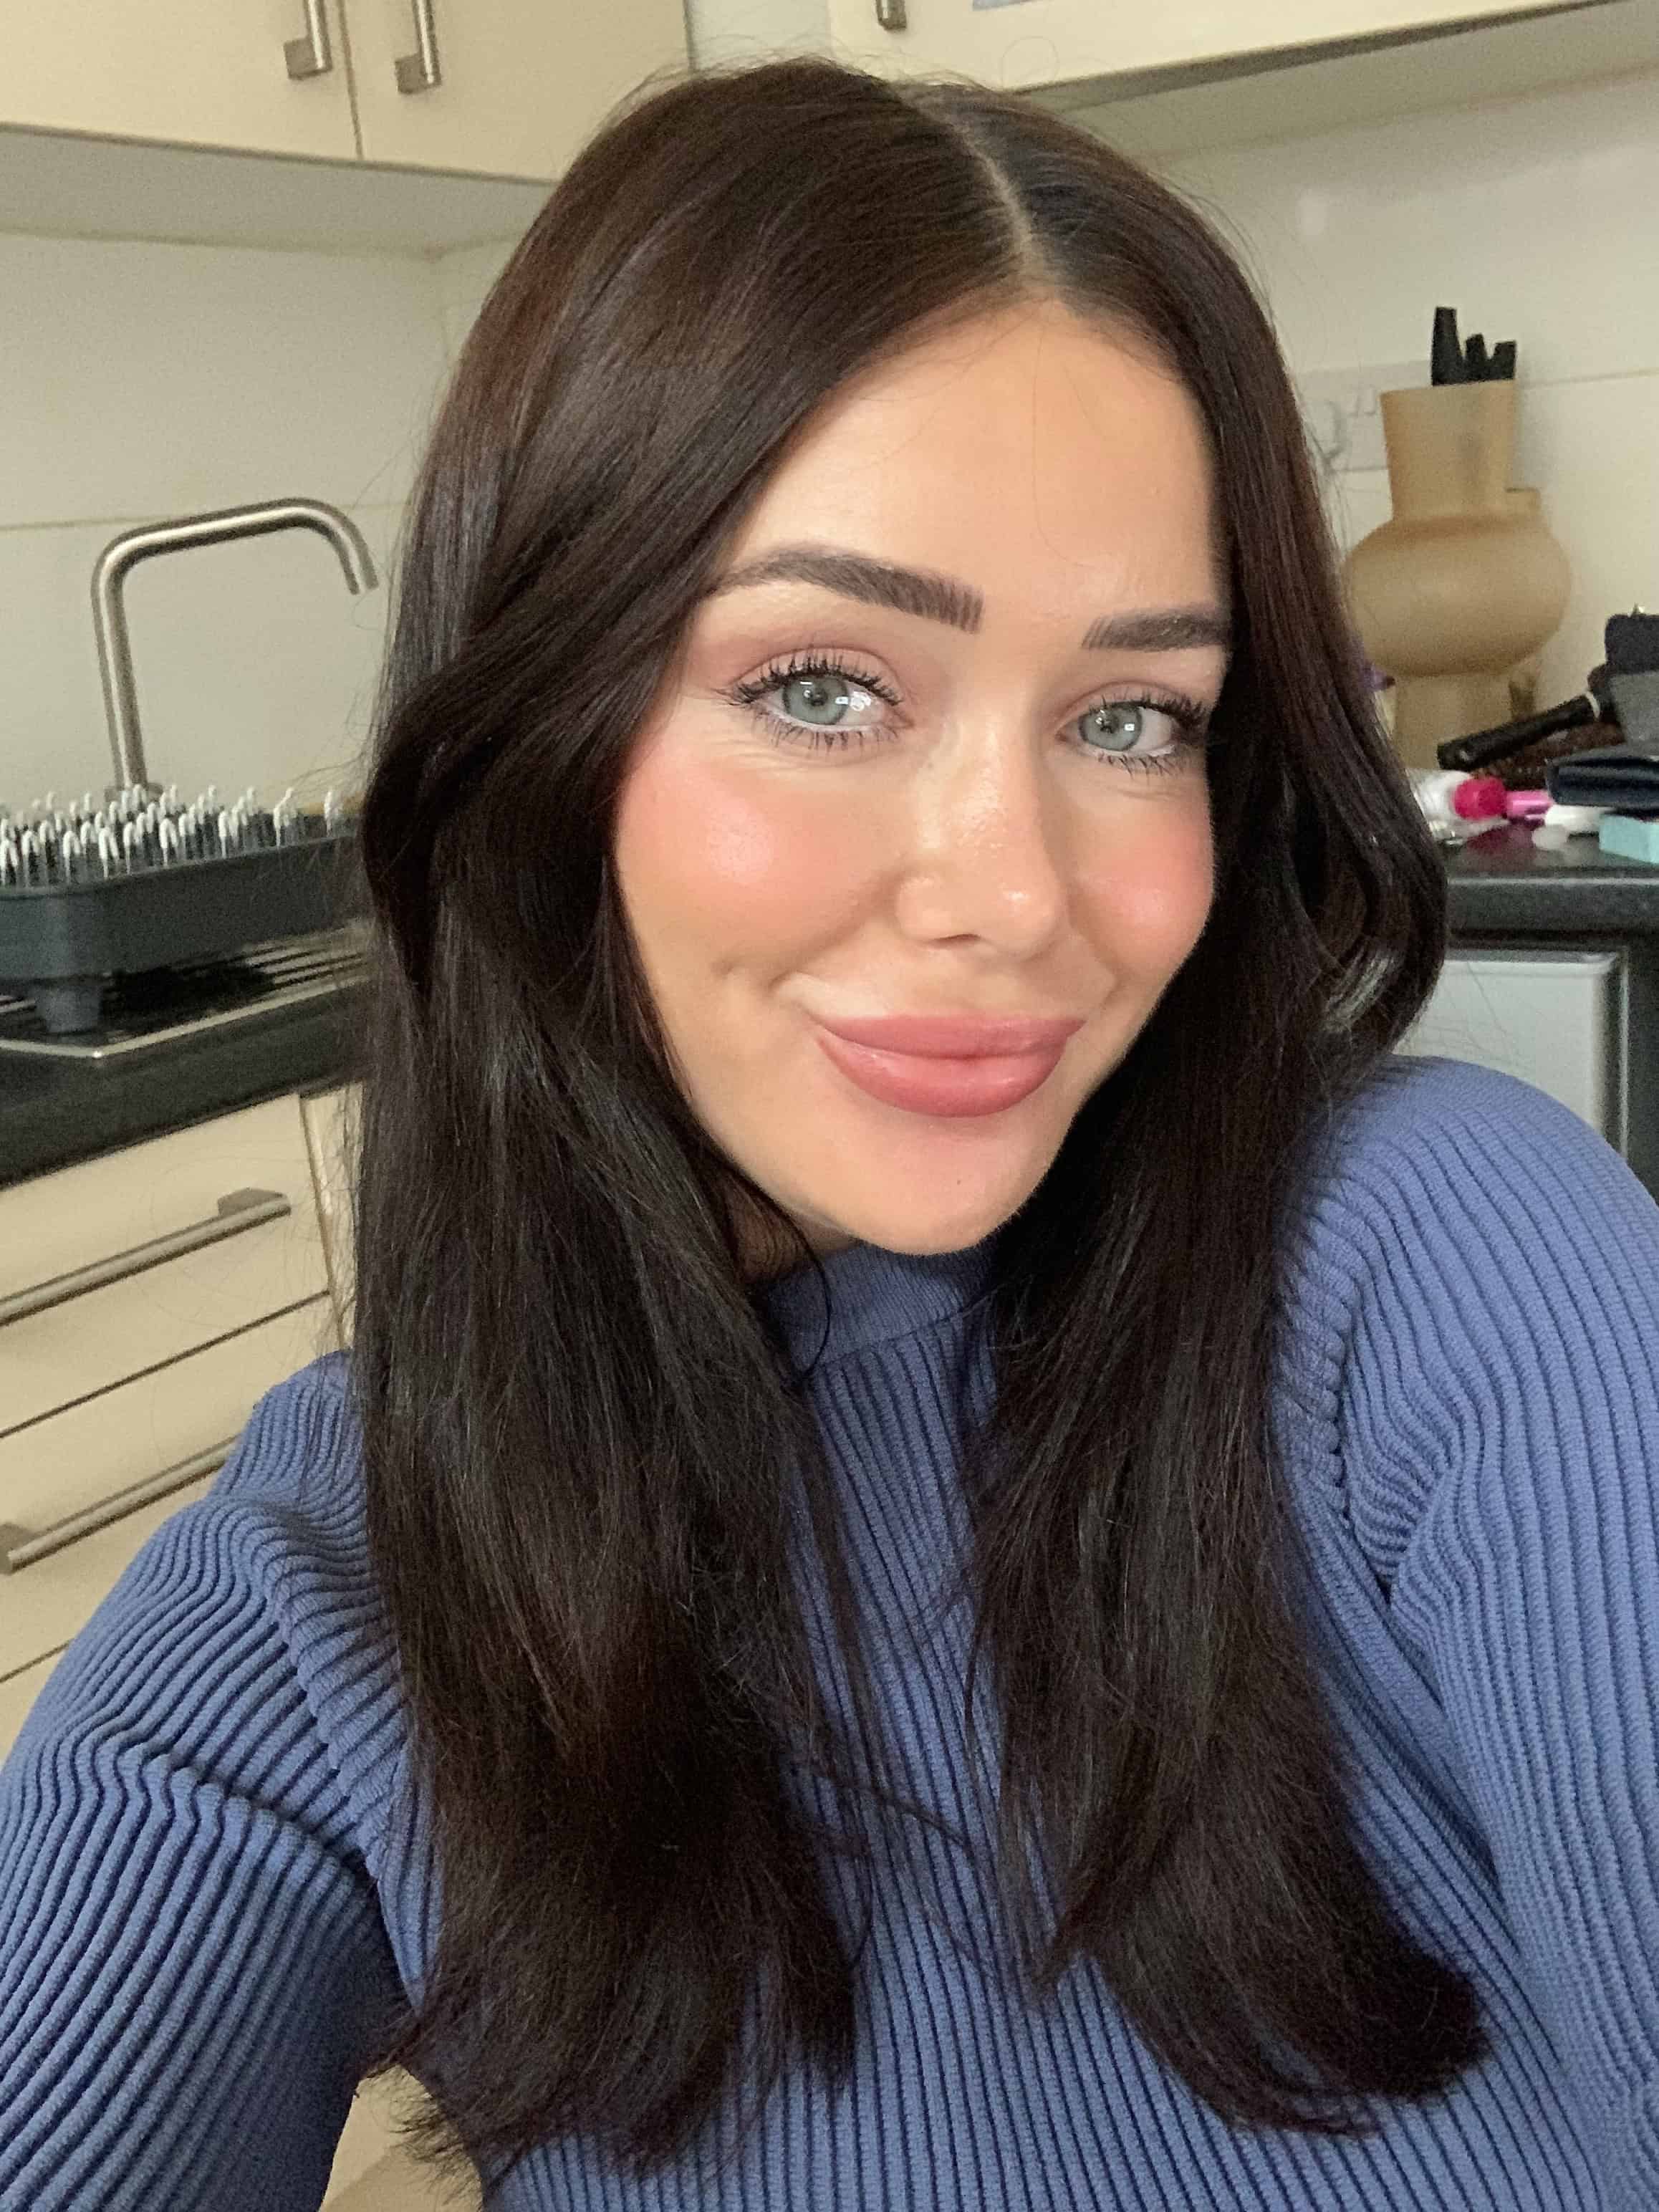
While the Photofabulous treatment was a great way to kick start my skin journey, the maintenance of these results really depends on a lifestyle change, including making a conscious effort to stay out of the sun and use SPF and a good at-home skincare regimen. The pre-treatment and post-treatment also require some planning including no sun, some downtime and a reduction in the products and ingredients used in your typical skincare routine.
Although uncomfortable at times, the treatment achieved the smooth and even-toned complexion I had set out to achieve and I plan to continue with a once-yearly maintenance session.
Olivia curated the perfect AM and PM skincare routine for me, which helped to prolong the results and this service is included as part of the Photofabulous treatment.
Olivia adds: “With the consultation, we use that time to cover everything so we do patch tests during that consultation as well so the patients can have a feel of the laser. I would always assess their skin as well.”
“[During] that consultation, we go through it nice and thoroughly so it’s a free consultation that’s definitely worth taking up for sure.”
If you’re considering the Photofabulous treatment, it’s recommended to book a free consultation to ensure that you’re receiving the treatment most beneficial to you with maximum results.
For one full face session of the Photofabulous treatment, it’s £400 or £1,000 for three sessions. For more information and bookings, head to Skin Doctor Clinic’s website.
